Content
Background
Assets are all values of an organisation or a company (e.g. know-how, processes, infrastructure, etc.). An important basis in the implementation of compliance management systems is the documentation and analysis of the need for protection and the risks of assets. This results in the appropriate protective measures.
The protection needs assessment of assets is done in 3 simple steps:
- Define asset classes for your organization.
- Configure and assign assessment forms for the protection needs of your asset classes.
- Manage assets, assess protection needs and derive actions.
Define asset classes
First, define the asset classes of your organisation. Structuring is used to ensure that assets of the same class are always subject to the same scoring procedure, thereby ensuring consistent protection needs analysis across all assets in a class and over time.
Asset classes consist of a top-level or main category and several sub-levels or sub-categories. First, the asset sub-levels must be created so that they can be selected for the asset top-level.
Create sub-level asset
- In the main menu, click on Organisation master data: A dropdown menu opens.
- In the dropdown menu, click on Asset classes: The table view opens on the "Asset sub-level" tab.
- In the table view, click on the button +Asset sub-level: A slider opens, via which already imported assets are displayed.
- Click on the button New: An empty input mask opens.
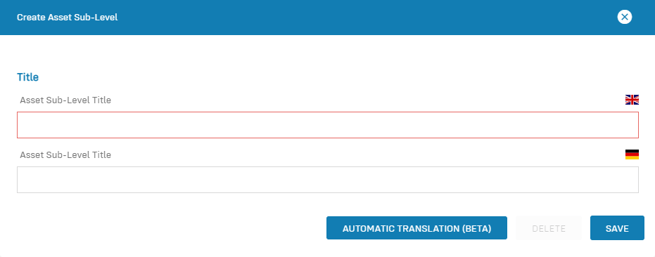
- Assign a title to the sub-level asset.
- Click on Save: The sub-level asset is saved and appears in the table view.
Create top-level asset
- In the main menu, click on Organisation master data: A dropdown menu opens.
- In the dropdown menu, click on Asset classes: The table view opens on the "Asset sub-level" tab.
- Switch to the Asset top-level tab: The asset top-level tab opens.
- In the table view, click on the button +Asset top-level: A slider opens, via which already imported risks are displayed.
- Click on the button New: An empty input mask opens.
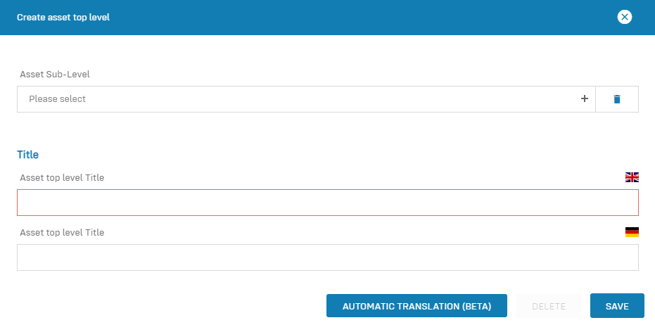
- Select the sub-level assets that belong to this top-level asset.
- Assign a title to the top-level asset.
- Click on Save: The top-level asset is saved and appears in the table view.
Configure the protection needs assessment
In order to be able to perform a protection needs analysis in Robin Data ComplianceOS, an assessment form must be created that enables the assessment of assets. You can use ComplianceOS to store an individual protection needs analysis for each asset sub-level.
Learn more about creating assessment forms in the article Create assessment forms.
Carrying out the protection needs assessment
In order to evaluate a risk, you must first create it and assign it to a category (top-level and sub-level).
Create an asset
- In the main menu, click on Data security: a dropdown menu opens.
- In the dropdown menu, click on Asset management: The table view opens. The general functionality of the table view is described in the article Use table view.
- Click on the button +Asset: An input mask opens.
- Enter the title of the asset.
- Click on Edit if you want to fill in the fields of the input mask: The input mask opens.
- Fill in the fields of the input mask. Once you have defined a sub-level asset, you can access and fill in the protection needs assessment form stored for this sub-level in the lower area of the input mask.
- Click on Save: The asset has been recorded and the protection needs assessment can be performed again.
Notice:
Once you have set a top level and/or sub-level for the asset, you cannot subsequently change them. Thus, the development of the factors over time remains uniform and consistent.
Data areas of the input mask
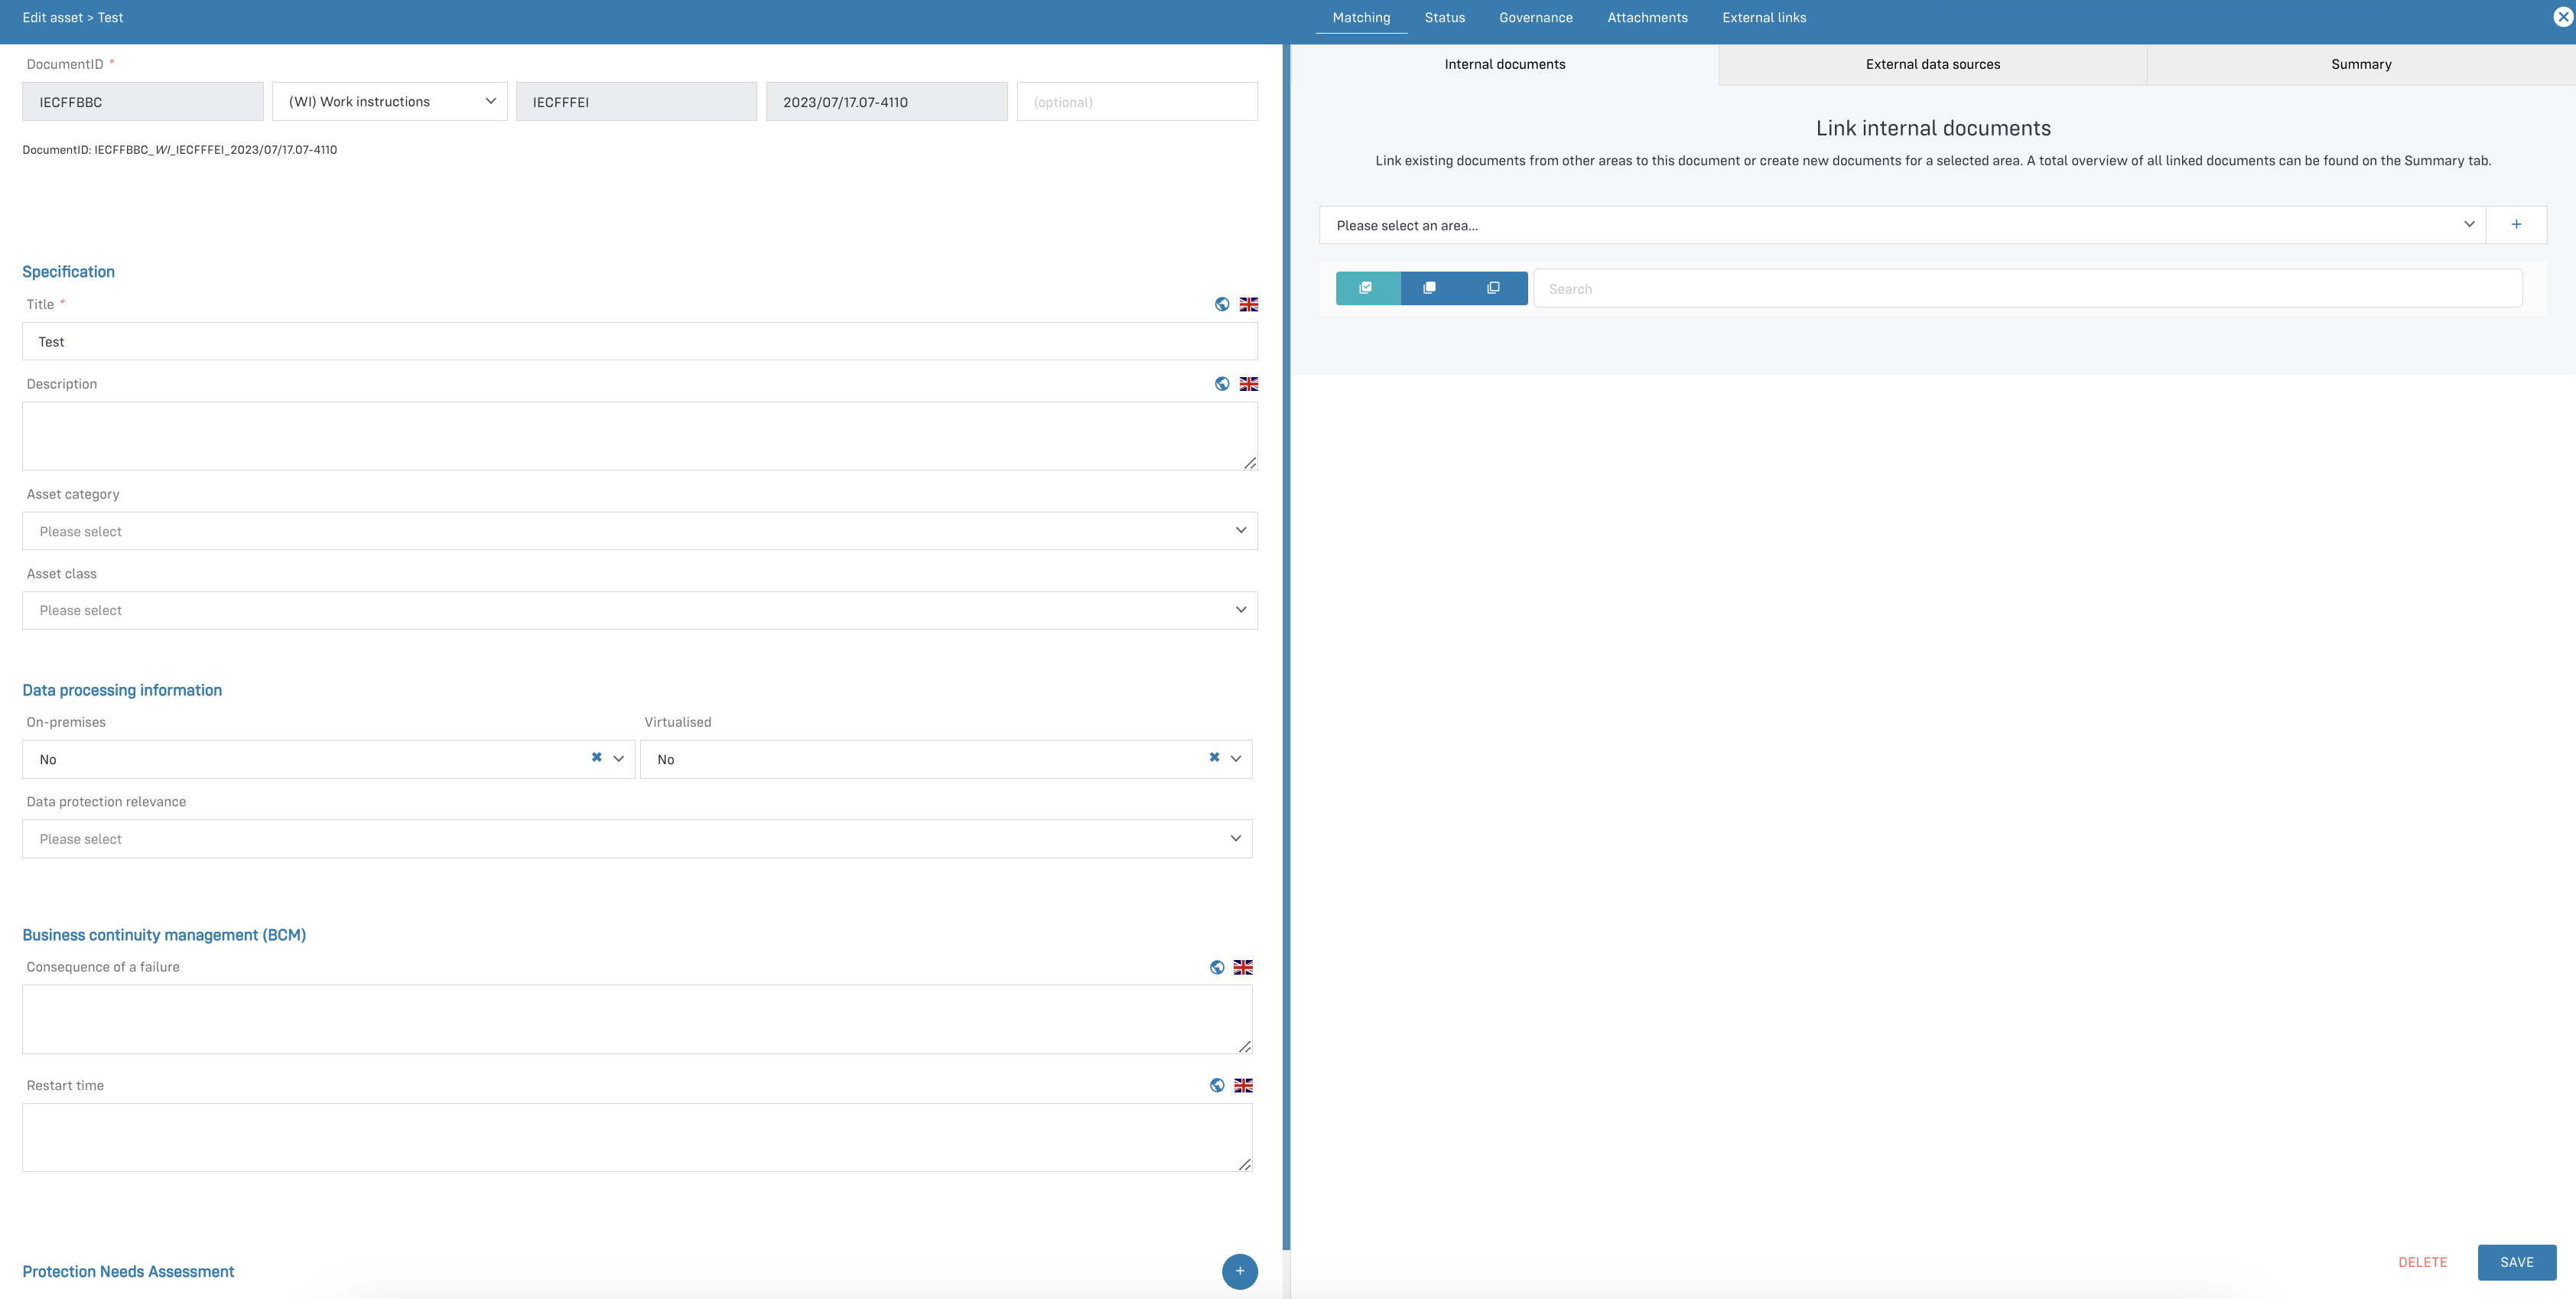
Click to enlarge the image.
The left form area has the following data areas:
- Document ID: Assign a document ID to the processing activity, the use of document IDs serves the system-wide unique marking and identification of documents (more information on the help page "Documented Information").
- Specification: Important basic data for the erasure class according to DIN 66398, such as the retention and erasure period provided by Robin Data.
- Data processing information: Provide details on how the asset's data is processed.
- Business Continuity Management (BCM): Provide details about your business continuity management.
- Protection Needs Assessment: The Protection Needs Assessment form associated with the asset sub-level appears here. Periodically repeat the protection needs assessments for your assets, especially if factors in the assessment have changed.
The right form area has the following data areas:
- Matcher: Via the matcher you can link documents as well as view linked documents.
- Status Tab: In this tab it is possible to manage the status of a document and to store notes about the erasure class.
- Governance Tab: The Governance Tab is equally available in several documents in the Robin Data software. It offers the possibility to record various basic parameters for the respective document. a more detailed explanation can be found in the article Manage Governance Content.
- Activity Tab: This tab displays all the activities associated with your record. To create an activity, click the Create Activity button in the upper right corner. This will open a new input form, for a more detailed explanation please refer to the article Activity Manager.
- Attachments tab: In this tab you can add related documents by clicking the Add Attachment button. For a more detailed explanation, see the article Use input masks with forms.
- External Links Tab: In this tab you can link related information using the Add external link button. For a more detailed explanation, see the article Use input masks with forms.
Perform the protection needs assessment
- Open an asset in the table view.
- In the input mask, navigate to the "Protection needs assessment" section and click on the blue plus icon to add an assessment: The assessment form you assigned to the asset sub-level will appear.
- Fill out the assessment form.
- Click on the calculator symbol to calculate the final score.
- Click on Complete assessment: The protection needs assessment is saved and the overall score is shown on the dashboard in the "Changes in protection needs over time" table. The risk score at that point in time is now unchangeable.
Tip:
Click the blue plus icon to perform additional protection needs assessments.
Further questions? - We are here for you.
If you have any questions about the software, please contact our support team. You can reach us at support@robin-data.io.