Content
Open an input mask
The input masks can be called up in two ways. To do this, open the area in the Robin Data software that you would like to edit. In the following, the input masks at the area Data Protection > Locations are explained.
Open an input mask for a new data record
- Click on the button in the upper right corner (e.g. location): an empty input mask opens

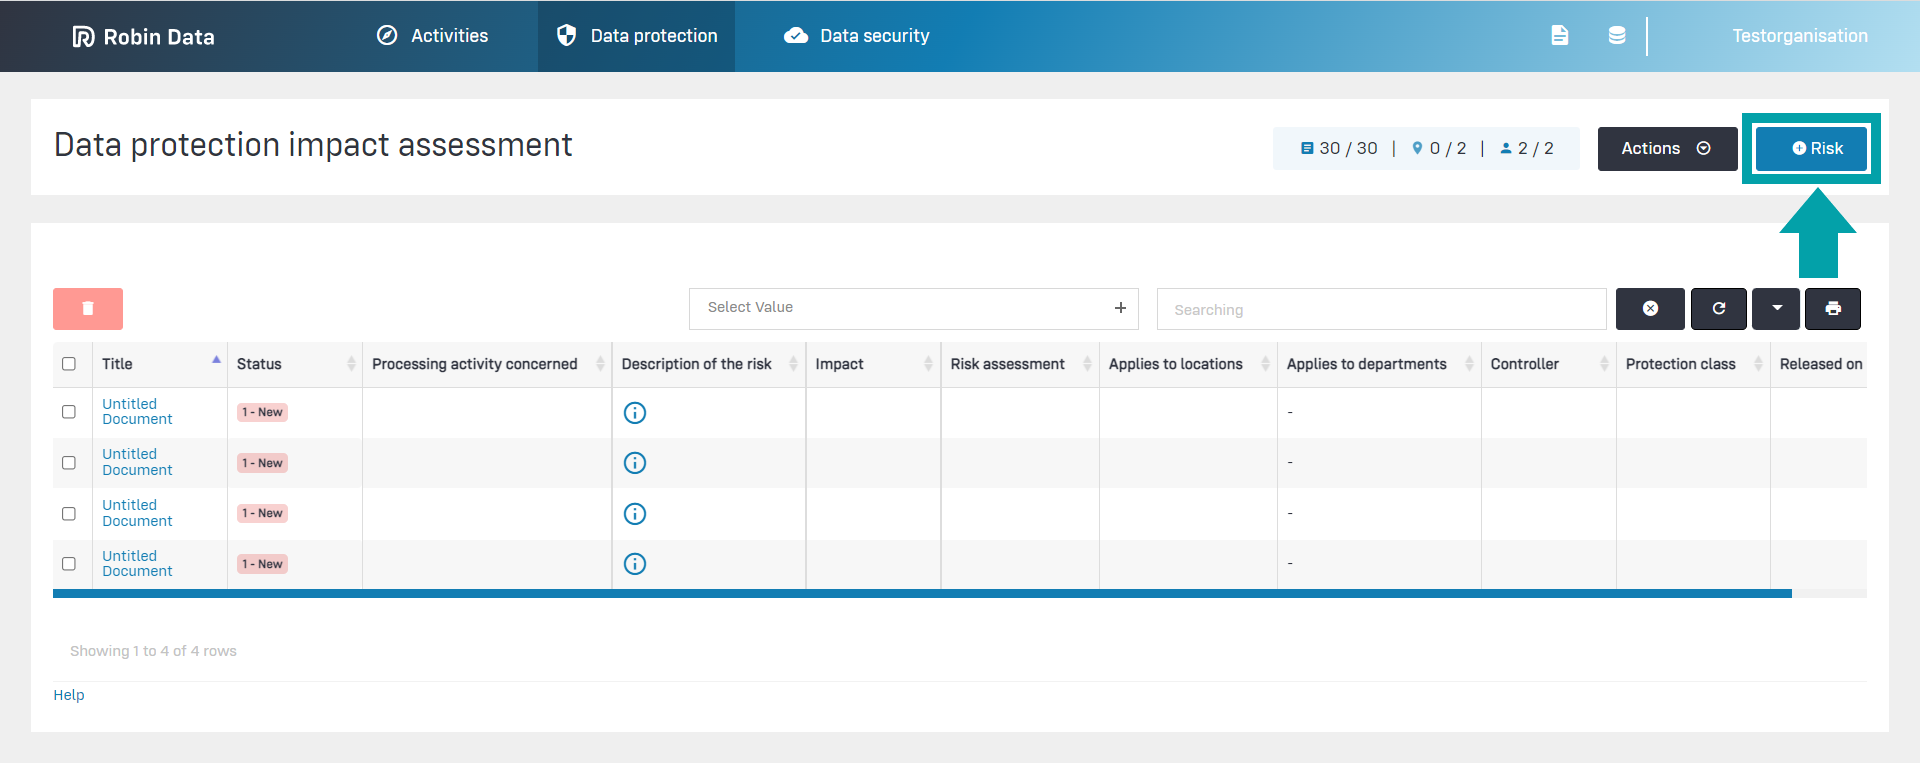
Click on the image to make it larger
Open the input mask of an existing data record
- Click on the desired data set in the table: The input mask of the selected data set opens
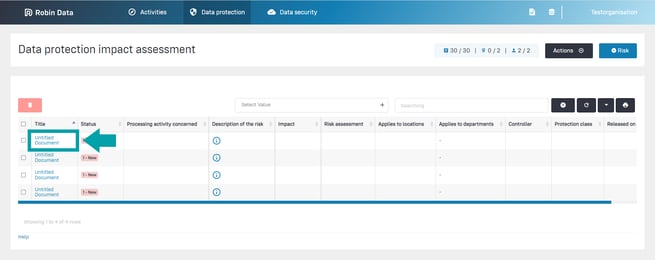
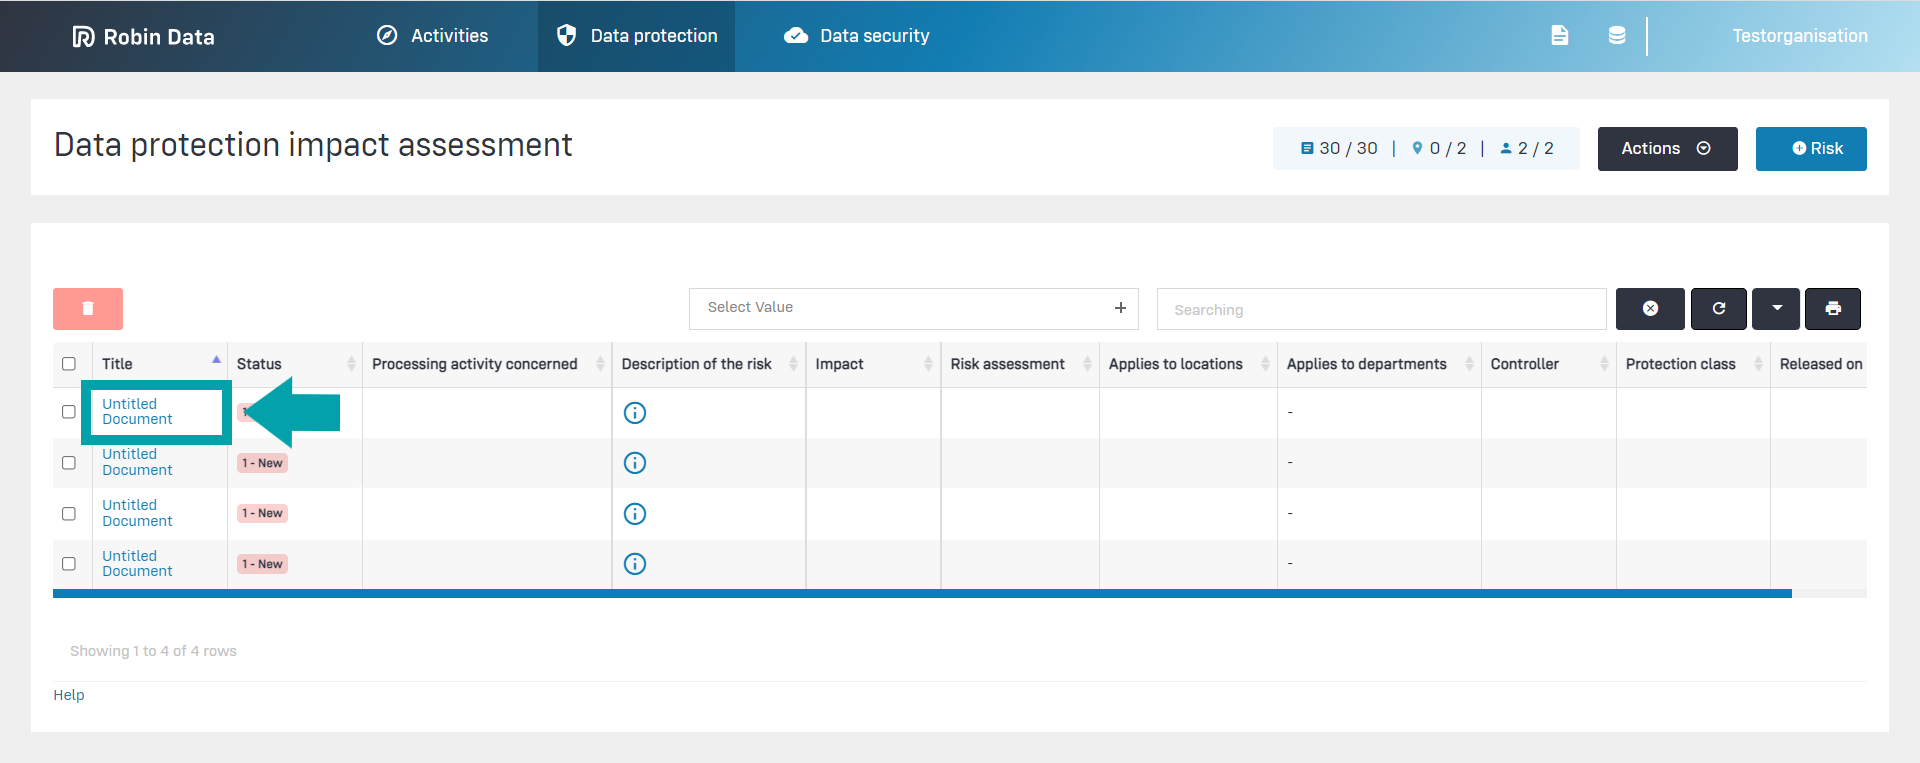
Click on the image to make it larger.
Edit an input mask
The input masks and forms are always structured in the same way, for editing please follow the instructions below:
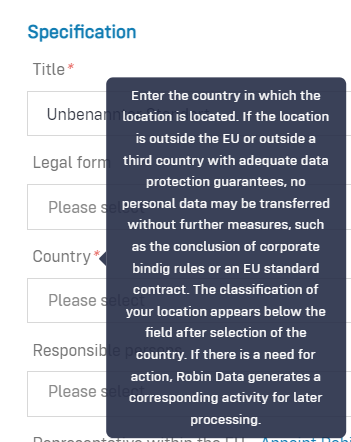
- Optional fields: Optional fields have no special label and do not need to be filled in to save the record.
- Mandatory fields: Mandatory fields are always marked with a red asterisk "*" and must be filled in to save the record.
- Tooltips: Each form field has a tooltip. You can display it by moving the mouse over the title of the form field.
Click on the image to make it larger.
Close an input mask
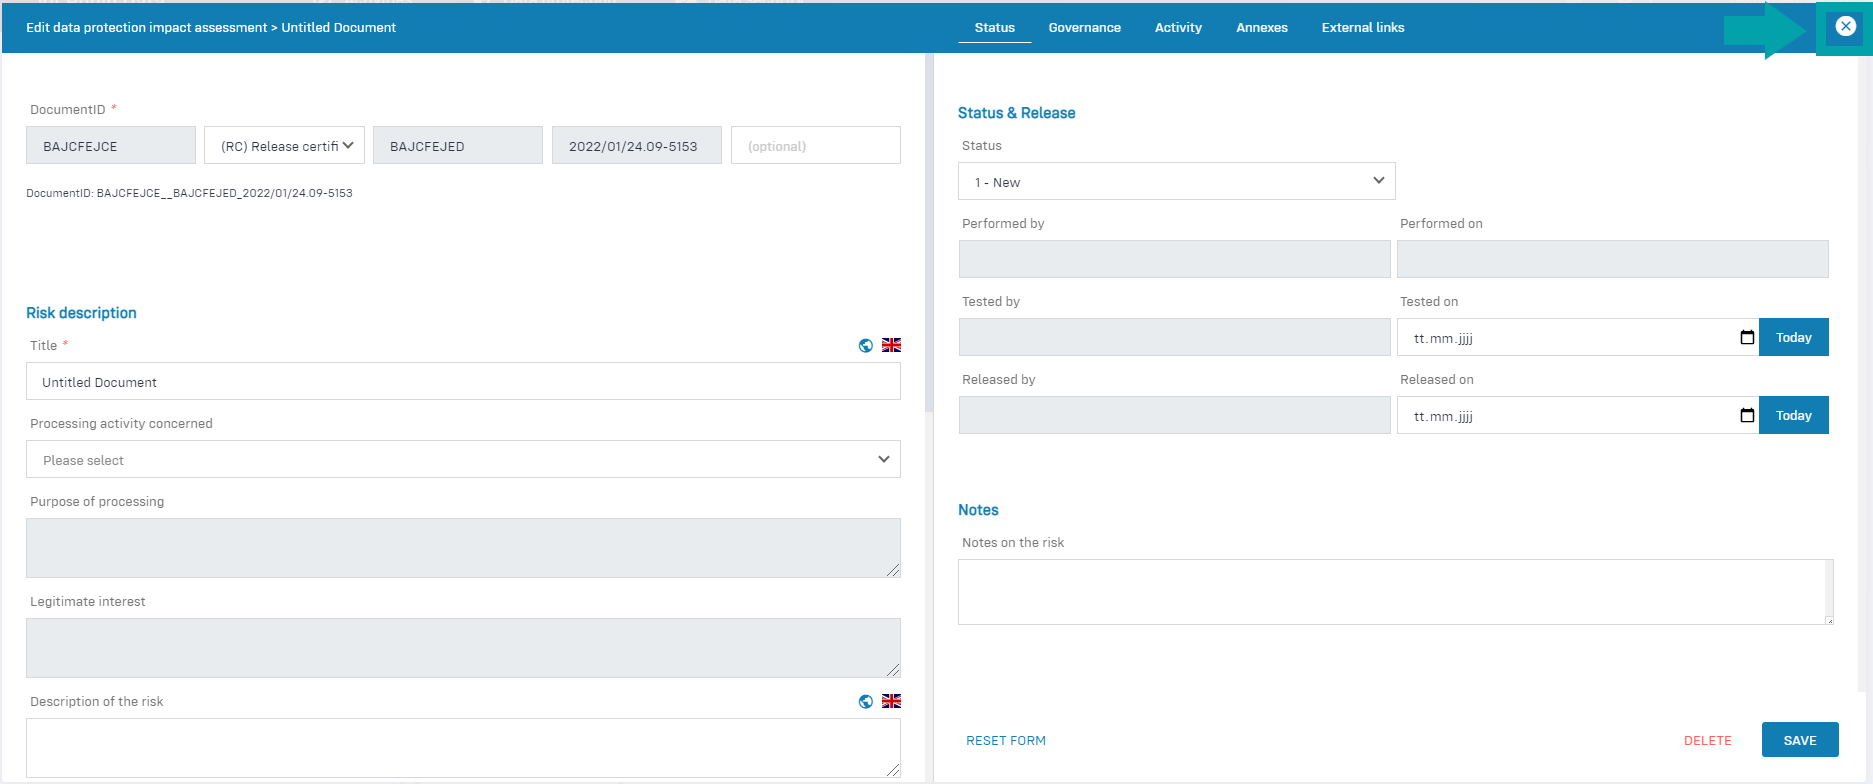
In the right form area of the input masks you will find several actions for closing a form field.
In the upper right area you can close the input mask:
- Close: close the current form. If you have made changes to the form, a dialog box will inform you whether you want to save the changes you have made or close the form without saving.

Click on the image to make it larger.
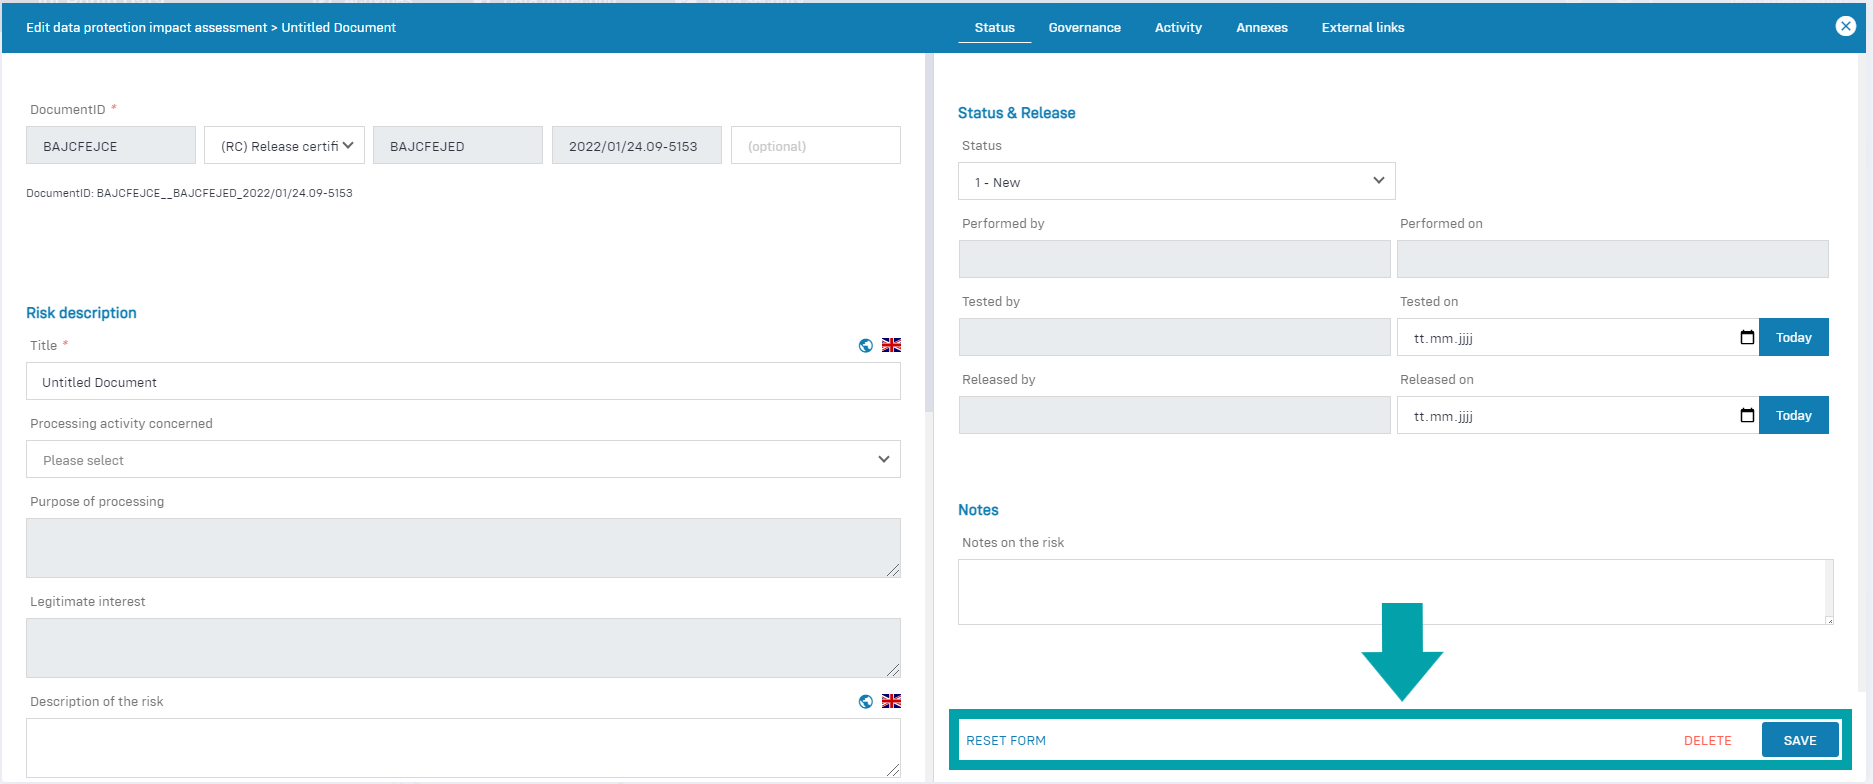
In the lower right area you can delete the input mask, save or reset the form field:
- Delete: You can delete records from the Robin Data software. This button is available when you open an existing record.
- Save: Save the entered data in the Robin Data software. You can save the form only if all mandatory fields are filled in correctly. The form will then close automatically.
- Reset form: If you want to clear all form fields at once, you can use this button

Click on the image to make it larger.
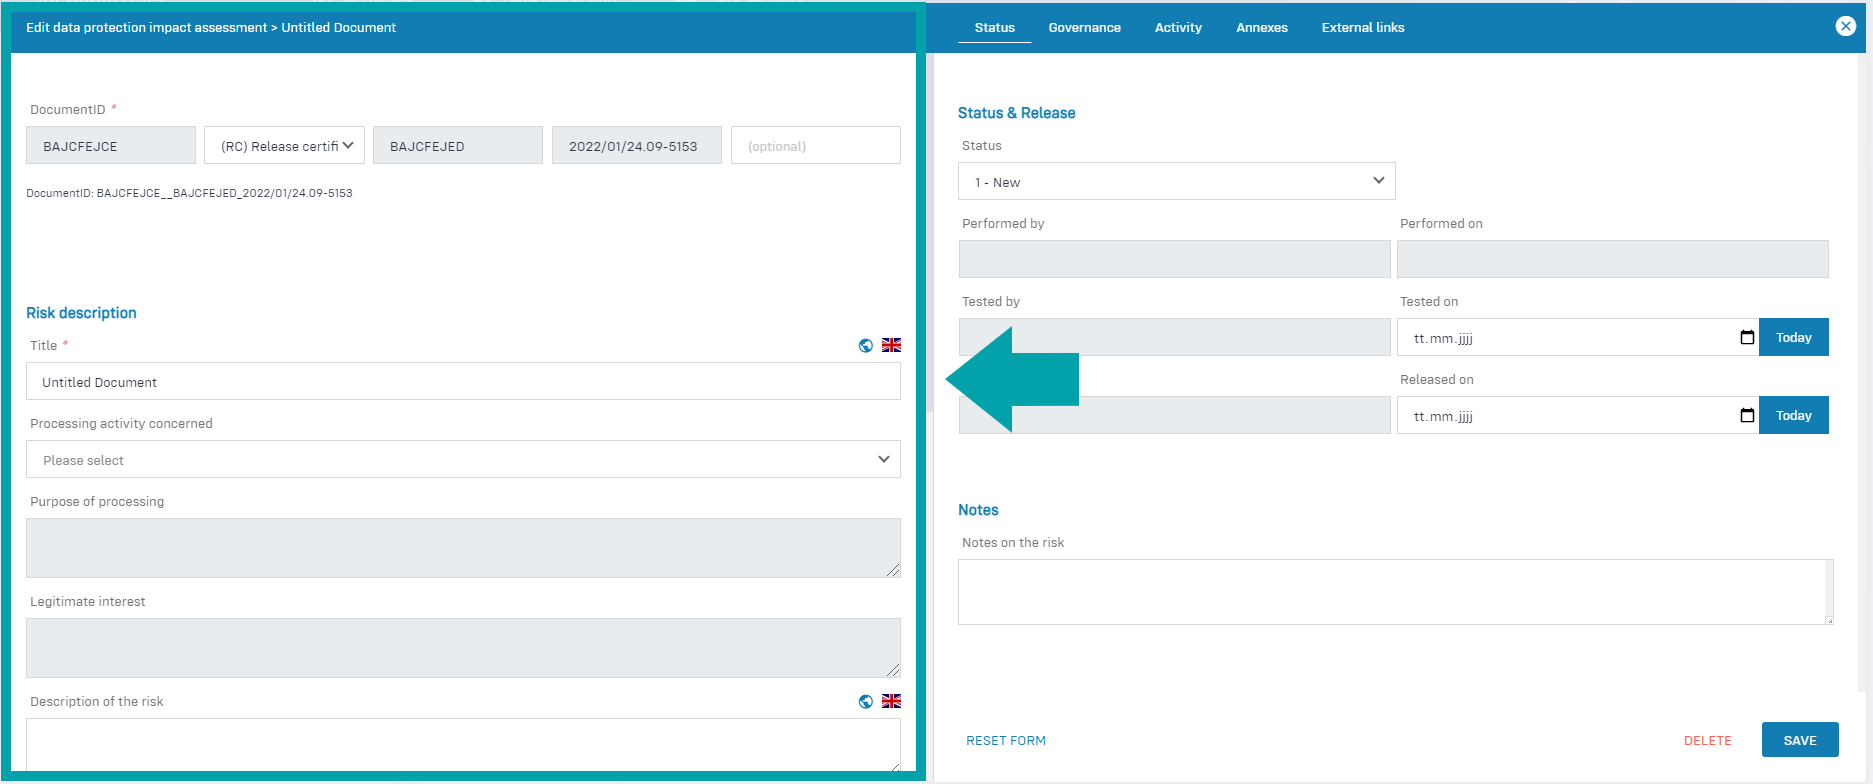
Structure of an input mask: Left form area of the input mask
The left form area contains fields for maintaining the respective data record. These fields vary depending on the record to be maintained. For example, you need to maintain different fields to create a processing activity than you do to create a location. In the "Data Protection Impact Assessment" example, you maintain the following fields in the left form area:
- Document ID: Assign a document ID to the processing activity; the use of document IDs serves to uniquely mark and identify documents system-wide (more information on the help page "Documented Information").
- Risk description: In this area, you define the risk or risks for the processing activity.
- Risk treatment: Here you assess the risk and define concrete measures on how to mitigate this risk.
Click on the image to make it larger.
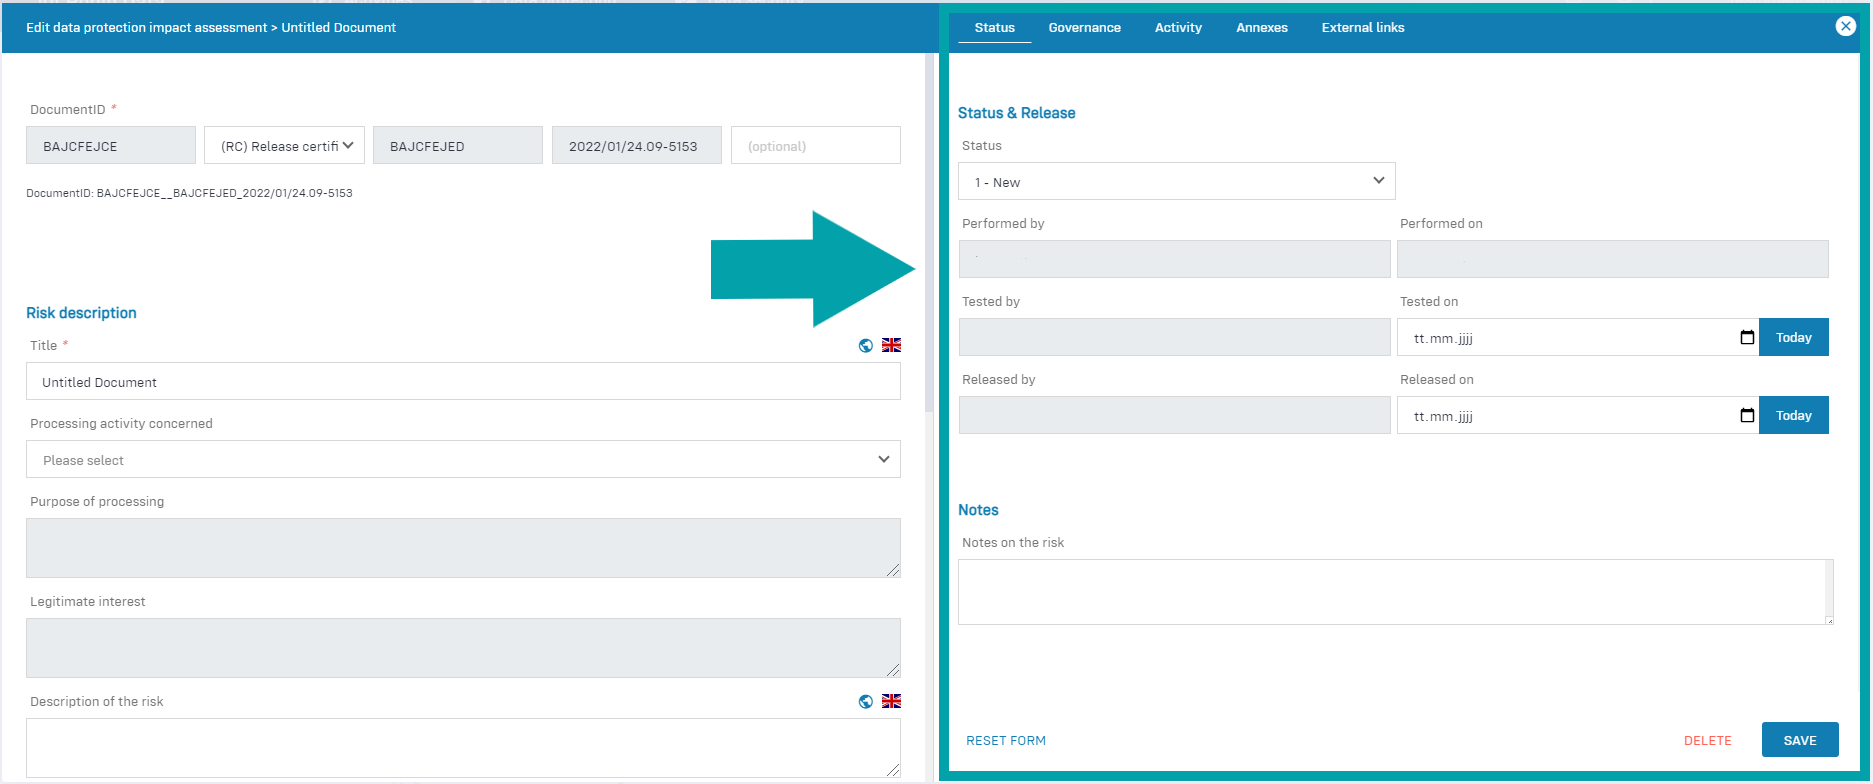
Structure of an input mask: Right form area of the input mask
The right form area is used to maintain additional information about the data record. The fields in the right-hand form area also vary depending on the data record to be maintained. In the "Data Protection Impact Assessment" example, you maintain the following fields in the right-hand form area:
-
Status tab: in this data area it is possible to manage the status of a document and to store notes about the location.
-
Governance tab: The governance tab is equally available in several documents in the Robin Data software. It offers the possibility to record various basic parameters for the respective document. A more detailed explanation can be found in the article Manage Governance Content.
-
Activity tab: In this data area, all activities are displayed that are linked to your data record. To create an activity, click the Create activity button at the top right. This will open a new input form, a more detailed explanation can be found in the article Activity Manager.
-
Attachments tab: In this data area you can store related documents by clicking the button Add attachment.
-
External links tab: In this data area you can link related information using the Add external link button.
Click on the image to make it larger
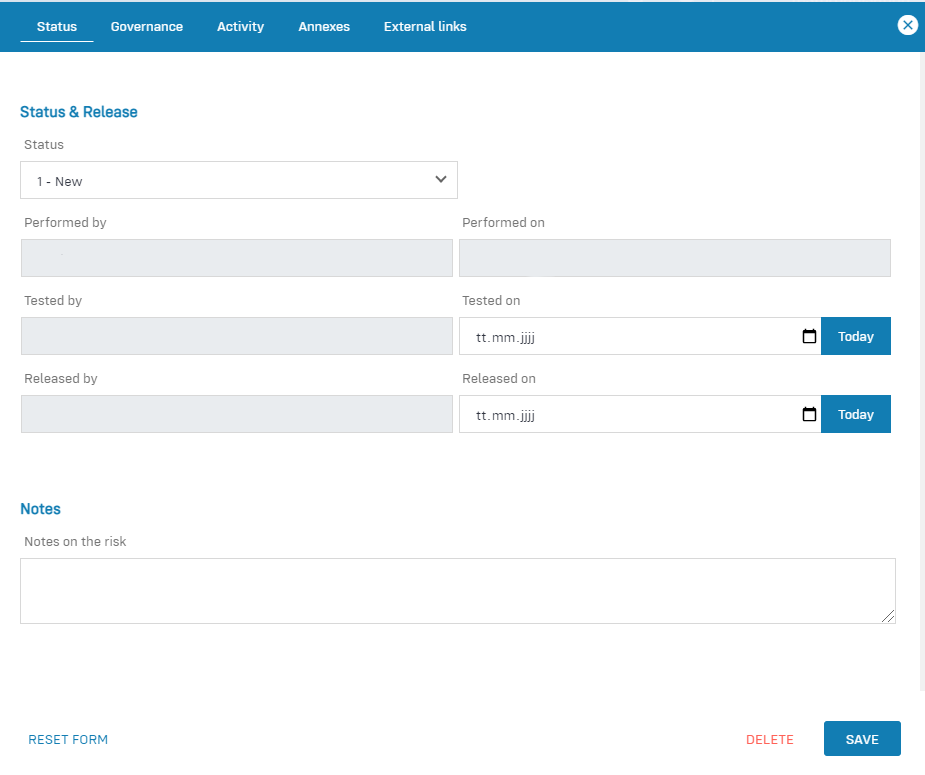
Tab: Status
This tab has the following form fields:
Click on the image to make it larger
- Status: indicate the current processing status of the DPIA.
- Performed by: Indicate the person who created this DPIA.
- Performed on: Enter the date on which the creation of this DPIA was completed.
- Tested by: Enter the person who reviewed this DPIA.
- Tested on: Enter the date on which the review of this DPIA was completed.
- Released by: Enter the person who released this DPIA.
- Released on: Enter the date this DPIA was released for use.
Tab: Governance
The governance tab has the following data areas: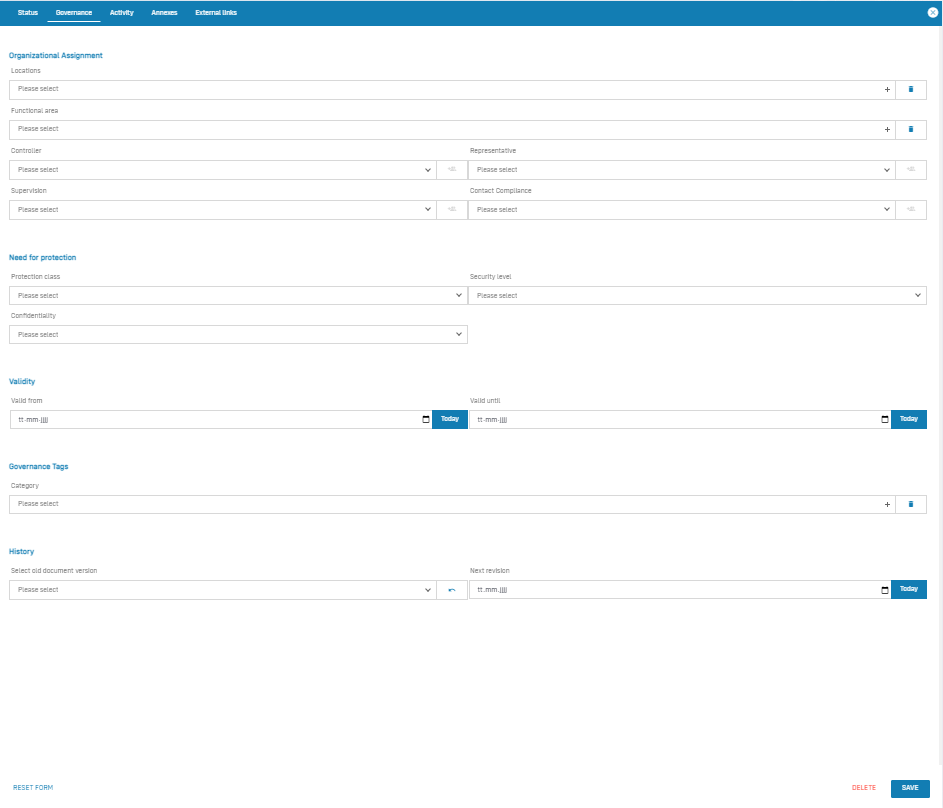
Click on the image to make it larger
- Organizational assignment: Edit the organizational anchoring of the respective document.
- Need for protection: Specify the protection requirement of the respective document.
- Validity: Specify the validity of the respective document.
- Governance Tags: Select the category for the respective document.
- History: Switch between different versions of the respective document and / or specify the date of the next revision.
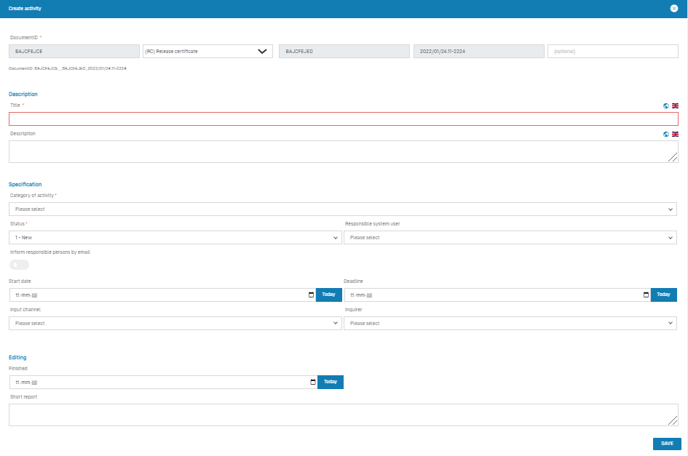
Tab: Activity
- Switch to the Activity tab and click the Create Activity button: An empty input mask will open.
The input mask has the following form fields
Click on the image to make it larger
- Document ID: Assign a document ID to the record, the use of document IDs serves to uniquely mark and identify documents system-wide (more information on the help page "Documented information").
- Description: Description and category of the activity.
- Specification: Responsible and time specifications for the activity.
- Editing: Information about the processing of the activity.
Data area: Description
This data area has the following form fields:
- Title: Give the activity a clear content title, ideally this should contain a verb.
- Description: Specify what is to be done in this activity.
Data area: Specification
This data area has the following form fields
- Category of activity: indicate which category of activity corresponds to this activity. The category of an activity is derived from the mandatory legal tasks in data protection and the administration of general activities for implementing and maintaining the data protection management system.
- Status: Specify the current processing status of the activity.
- Responsible system user: Assign the activity to the responsible system user . The responsible person must be a registered user of your organization in Robin Data software.
- Inform responsible person by email: Inform the responsible system user by email by toggling the button to the right. Buttons with a blue background are activated. The responsible person will receive an e-mail with the link to the activity.
- Start date: Enter a start date for this activity.
- Deadline: Enter the deadline for this activity.
- Input Channel: Enter through which communication channel this activity reached you.
- Inquirer: Document which person (from Data protection > Persons at locations) initiated this activity.
Data area: Editing
This data area has the following form fields:
- Finished: Indicate when this activity was completed.
- Short report: Describe what you did in this activity.
For more on activities and how to manage them, see the Activities Manager help article.
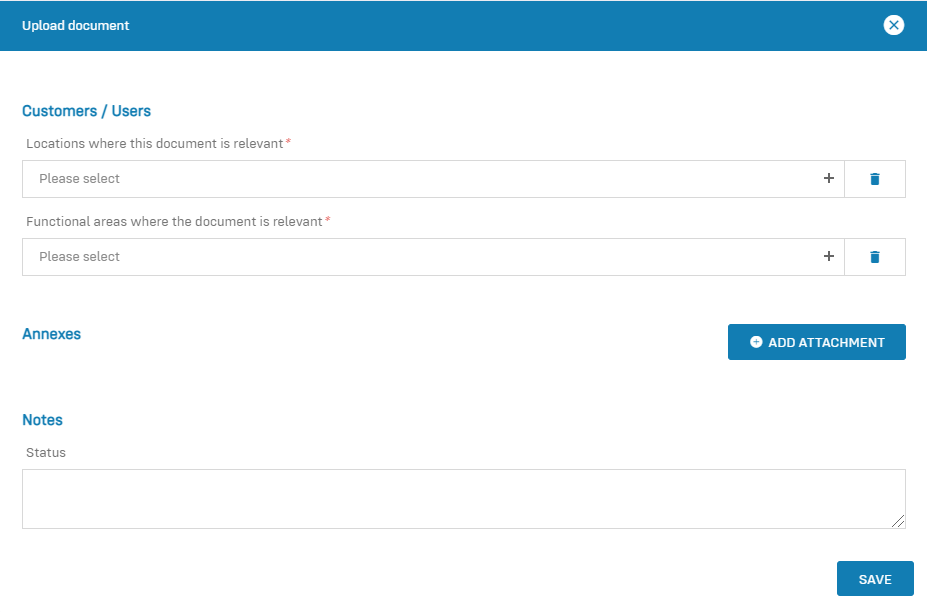
Tab: Annexes
- Switch to the Annexes tab and click the Add attachment button: An empty input mask will open.
The input mask has the following form fields:
Click on the image to make it larger
-
Customers/User: Provide relevant information about the asset.
-
Attachments: Upload the attachment.
-
Notes: Write your notes about this attachment.
Data Area: Customers/User
This data area has the following form fields:
-
Locations where this document is relevant: select a location from the drop-down list.
-
Functional areas where the document is relevant: Select a functional area from the drop-down list.
Data area: Attachments
-
Click on the Add Attachment button to upload a document from your computer.
Data area: Notes
-
Write notes about this attachment.
Tab: External links
- Switch to the External links tab and click the Add external link button: An empty input mask will open.
The input mask has the following form fields:
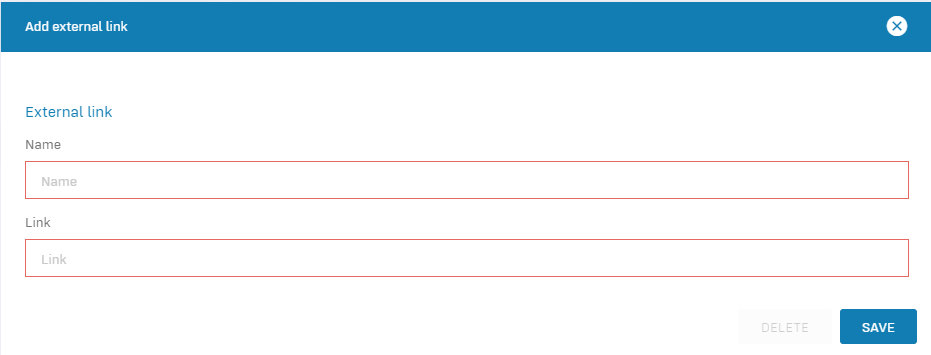
Click on the image to make it larger
-
Name: Enter the name of the link.
-
Link: Insert the URL of the link.
Any other questions? - We are here for you.
If you have any questions about the software, please feel free to contact our support team. You can reach us at support@robin-data.io.